

Opening Words
Hello everyone! As a post-95s gardening enthusiast, I'm super excited to share my gardening experiences from these past few years of trial and error. To be honest, when I first started growing vegetables, I was really troubled - facing various issues: seeds wouldn't germinate, seedlings grew crooked, vegetables got eaten by bugs before they could mature... It was truly frustrating! But after years of practice, I've finally figured out some particularly useful tips that I'd like to share with you today.
Sowing Seeds with Skill
Sowing seeds is truly an art! I remember when I first started gardening, seeds would either blow away or get picked up by birds, which was incredibly frustrating. Later, I discovered an amazing tool - old window screens! You know, the kind of mosquito screens we commonly have at home, they're perfect protection for seeds.
The process is super simple: find a screen of suitable size, gently place it on the soil surface after sowing, and secure the corners with a few small stones. This prevents seeds from blowing away, keeps hungry birds at bay, while still allowing rain and sunlight to pass through - it's absolutely perfect! Once you see seedlings emerging, you can remove the screen.
The issue of sowing depth also troubled me for a long time. Too deep, and seeds suffocate in the soil; too shallow, and they wash away with rain. Later, I came up with a brilliant solution: using chopsticks as tools! Mark different depths on the chopsticks with a marker, like 0.5cm, 1cm, 2cm, etc. Different vegetable seeds need different sowing depths, and with this simple tool, you never have to worry about planting too deep or too shallow.
For small seeds like Chinese cabbage and lettuce, a sowing depth of about 0.5cm is usually enough; for beans and corn with larger seeds, you can plant deeper, 1-2cm is fine. Remember this tip: the sowing depth should generally be 2-3 times the seed's diameter - this way it's neither too deep nor too shallow, just right!

Indoor Seedling Care
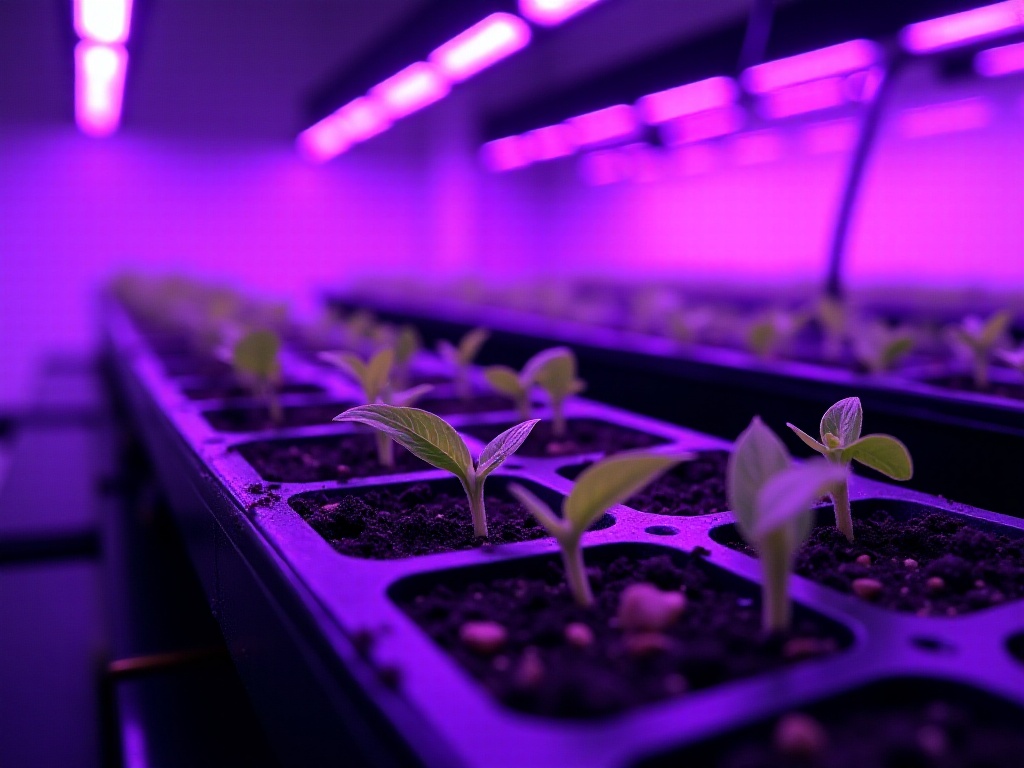
When it comes to raising seedlings, I have quite a few high-tech tips to share! I had an unused hydroponic system at home that I was planning to sell second-hand, but then had a sudden inspiration to transform it into a seedling-raising wonder, and the results were amazing!
The modification method is super simple: remove the water tank from the hydroponic system, keeping only the frame and LED grow lights. Then place seedling trays underneath, and you've got yourself a professional-grade indoor growing space. LED grow lights are not only energy-efficient and environmentally friendly, but their spectrum is particularly suitable for plant growth. Turn on the lights to supplement natural light during the day when needed, and you can even extend lighting time at night to help seedlings grow strong.
One particularly technical aspect to note is the height of the lights. When I first started, I placed the lights too low and scorched the poor seedlings. Later, I figured out the right approach: when seeds first sprout, keep the lights 30-40cm above the seedling tray; as seedlings grow, you can gradually lower the height to 20-30cm. You need to constantly observe the seedlings' condition - if leaves turn yellow or stems become particularly thin and long, it might mean insufficient light, requiring adjustment of the light position.
Temperature control for seedlings is also crucial. Generally, most vegetable seeds germinate best in temperatures between 20-25 degrees Celsius. If your home temperature isn't very stable, you can create a mini greenhouse over the seedling tray with plastic film to maintain relatively stable temperatures. However, don't seal the greenhouse too tightly - leave some gaps for ventilation to prevent mold.
Watering is also a delicate matter. I now use a spray bottle to water seedlings, as the fine mist provides even coverage without knocking over delicate sprouts. When watering, observe soil moisture - it shouldn't be too dry or too wet. Touch the soil surface - it should feel slightly moist; if soil sticks to your finger, it's too wet.
Soil Management Techniques
Soil management is absolutely key to successful gardening! Many people start by completely turning over the soil, but this isn't actually beneficial. I now use a no-till method, which not only saves effort but is also particularly friendly to the soil ecosystem.
No-till planting might sound mysterious, but it's actually very simple. It means directly creating furrows for sowing or transplanting on the existing soil surface, without large-scale tilling. This has many benefits: first, it protects soil microorganism communities, which are great helpers for plant growth; second, it reduces soil moisture evaporation and maintains soil structure; most importantly, it reduces nutrient loss from the soil.
Many people like to completely remove plant roots after harvesting, which is actually a misconception. I suggest leaving roots to naturally decompose in the soil. Why? Because these roots not only provide organic matter as they decompose but also improve soil structure. Plus, the channels formed by roots in the soil provide convenient pathways for the next crop's root growth.
Speaking of soil improvement, I have a cost-effective and eco-friendly method. Don't throw away pruned branches and leaves - chop them up and spread them directly on the garden surface. These organic materials slowly decompose into natural fertilizer. Plus, this organic mulch layer suppresses weed growth - achieving multiple benefits at once.
Adjusting soil pH is also important. Most vegetables prefer slightly acidic soil, with pH between 6-7. If you find your soil is acidic, you can sprinkle some wood ash; if it's alkaline, add more well-rotted organic fertilizer. You don't need expensive equipment to test soil pH - a few test strips from the garden store are sufficient.

The Importance of Mulching
Never underestimate the importance of soil covering! I compare bare soil to a person without clothes - isn't that a vivid image? Unprotected soil is particularly vulnerable to damage: it gets eroded by rain, loses moisture through excessive evaporation on sunny days, and weeds easily spring up.
My most commonly used mulching materials are straw and leaves. These are not only cheap but also particularly effective. When laying straw, pay attention to thickness - too thin won't provide protection, too thick might suffocate the soil. Generally, a mulch layer of 5-8cm is appropriate.
Here's another tip: it's best to layer mulching materials. For example, first lay a layer of finely chopped leaves, then cover with straw - this helps retain moisture and prevent nutrient loss. Check the mulch layer after rain, and if you find any exposed areas, add more coverage promptly.
In summer, mulch can reduce soil temperature and protect plant roots from heat damage. In winter, it provides insulation and moisture retention, reducing the impact of soil freezing and thawing on plants. It's truly an all-around performer!
Creative Use of Natural Fertilizers
When it comes to fertilizers, many people's first thought is to buy chemical fertilizers. Actually, we have many natural fertilizer resources around us that we often overlook. Kitchen waste, for example, is literally "gold"!
Fruit peels, vegetable leaves, coffee grounds - these seemingly useless items are actually excellent fertilizer materials. I particularly like using coffee grounds, not only because they're rich in nitrogen but also because they have a special function - repelling slugs and snails.
Using coffee grounds is simple: just sprinkle them around plants after drying. However, note that coffee grounds are acidic, so don't apply too thickly - 100-200 grams per square meter is enough. It's best to mix them with other organic materials for better results.
Banana peels are also treasure, rich in potassium and particularly suitable for flowering and fruiting plants. I usually chop banana peels into pieces and bury them around plant roots for slow decomposition and nutrient release.
Don't throw away eggshells either - they're rich in calcium. Dry and crush eggshells, then sprinkle them on the soil surface or mix them into the soil to improve soil structure and prevent calcium deficiency in plants.
Pest and Disease Control
Controlling pests and diseases is truly a technical skill! I now barely use pesticides, instead using physical methods and natural materials to deal with these little creatures.
Chili powder is a great tool! Sprinkle it around plants to effectively repel various pests. However, this method requires persistence, especially after rain when you need to reapply. I usually mix chili powder with wood ash for better results.
The plastic fork method might sound funny, but it really works! Stick forks tines-down around plants to effectively deter squirrels and raccoons. These animals see the shiny forks as dangerous and naturally stay away.
Another pest control trick is planting pest-repelling plants. Marigolds, mint, and garlic shoots all have pest-repelling effects. I planted marigolds around my garden - they not only beautify the environment but also reduce pest problems.
For aphids, I have a special recipe: homemade spray from garlic and chili peppers. Crush garlic and chilies, soak in water for 24 hours, filter, and spray on plant leaves. While this method takes some effort, it's safe and non-toxic.
Disease prevention is also important. I now ensure good ventilation when growing vegetables, leaving enough space between plants to reduce disease occurrence. Plus, I check plant conditions every morning to address any issues promptly.
Ecological Gardening
Ecological gardening is a systematic project, with the key being creating an ecologically balanced environment. Diversity planting is a good method, meaning growing different crops in the same area.
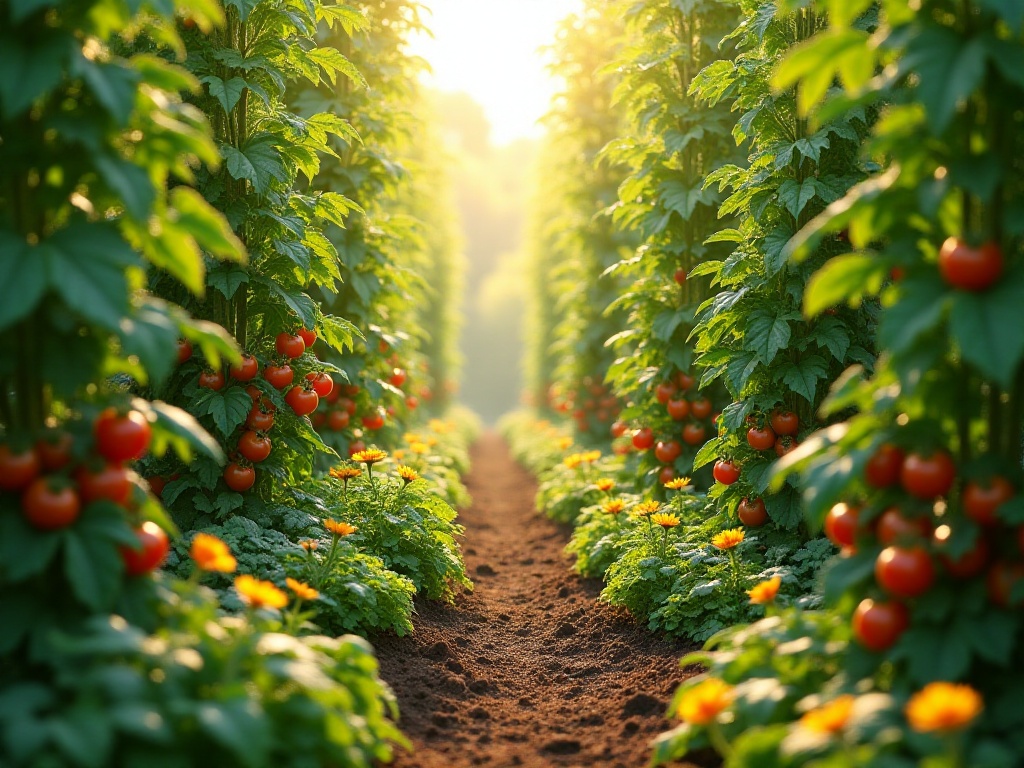
For example, when growing tomatoes, you can plant some carrots nearby. This not only maximizes space use, as different crops' roots distribute at different soil layers, but they also promote each other's growth. Tomato root secretions promote carrot growth, while carrot scent repels some pests.
Companion planting is also a good approach. Growing shorter crops under taller plants saves space and protects soil. For instance, growing corn and beans together allows corn stalks to support the beans, while beans fix nitrogen in the soil.
I also pay special attention to crop rotation, avoiding growing the same crop in the same spot for consecutive seasons. This reduces pests and diseases while balancing soil nutrients. A typical rotation sequence is: root vegetables → leafy vegetables → fruiting vegetables → legumes, cycling through these.

Closing Words
Gardening is truly an interesting endeavor. Watching vegetables grow day by day, the sense of achievement at harvest time is indescribable. Although you'll encounter various problems along the way, growing good vegetables isn't actually difficult once you master the essentials.
Finally, one more important suggestion: don't forget to plant some flowers in your vegetable garden! Lavender, calendula, and cosmos not only beautify the environment but also attract pollinating insects. These little helpers assist with plant pollination, increasing yields. Plus, these flowers attract beneficial insects like ladybugs and hoverflies, which help control pests.
Watching butterflies flutter and bees buzz in your garden, smelling the mixed fragrance of soil and flowers - it's truly wonderful. I hope everyone can experience the joy of growing vegetables and harvest healthy, delicious produce!
Related articles
-

DIY Self-Watering Planter: Help Your Plants Survive Summer Easily
2025-01-02
-

Health Living Manifesto for Post-90s Generation: Redefining Your Quality of Life Starting with Three Daily Meals
2024-12-25
-

Essential Guide for Beginner Gardeners: A 10,000-Word Introduction That Will Make You Fall in Love with Gardening
2025-02-03