Getting Started
I still remember when I first had the idea of gardening, looking at those lush balcony gardens online with both yearning and concern. As a complete gardening novice, I had no idea where to begin. After more than a year of exploration and learning, I've finally found some insights that I'd like to share with everyone.
Environmental assessment is absolutely the first step in gardening. I'll never forget my painful first planting lesson. At that time, I bought a bunch of seasonal flower seeds online, thinking that following the instructions would prevent any problems. The result? The plants either wilted after sprouting or didn't sprout at all. Later I realized that before planting, you must understand three key elements: soil conditions, sunlight exposure, and space planning.
Speaking of soil, this is fundamental to plant growth. I've done soil testing experiments many times. The simplest method is to find a clear glass bottle, put the collected soil sample in the bottle, add appropriate amount of water, shake vigorously, then let it settle for 24 hours. Something magical happens: sand settles at the bottom, clay forms the middle layer, and organic matter floats on top. By observing the thickness ratio of these layers, you can roughly determine what type of soil you have.
Besides this simple physical test, I also use pH test strips to check the soil's acidity. Different plants prefer different soil environments - some like acidic soil, like hydrangeas and azaleas; others adapt better to neutral or alkaline soil, like lavender and rosemary. Understanding soil properties helps you choose the most suitable growing environment for your plants.
Sunlight exposure is also crucial for plant growth. My balcony faces south, enjoying 6-8 hours of abundant sunlight daily - it's a planting paradise! I've successfully grown various sun-loving plants here, from herbs to vegetables. Tomatoes, peppers, and sunflowers thrive in such conditions. However, don't be discouraged if your balcony or planting area has less ideal light conditions. I've found many indoor foliage plants actually suit low-light environments well. Pothos, monstera, and snake plants can grow well in insufficient light conditions. Plus, there are many grow lights available now that can supplement natural light.
Space planning is also crucial. I made the mistake initially of not considering plants' mature size, resulting in plants competing for space, forcing me to painfully trim some branches. Now I make detailed space plans before planting, considering each plant's adult size and leaving sufficient growing space. I also consider plants' mutual effects. For instance, I put climbing plants that need support in the back row and shorter herbs in the front, preventing them from blocking each other's sunlight while creating a layered look.
Tool Preparation
Regarding gardening tools, there's truly a dazzling variety available. As someone who's experienced "tool hoarding syndrome," I really want to tell everyone: rather than buying many tools you might not use at once, start with the basics and gradually add according to need.
First, let's talk about shovels - absolutely the "magic weapon" of gardening. I remember when I first chose a garden trowel, I picked a very pretty plastic one, but it broke in less than a month. Later I switched to a stainless steel trowel, and though it cost more, the quality was undeniable. Two years later, aside from some usage marks, it's still as sturdy as new. When choosing a trowel, pay attention to whether the handle length is suitable, if the weight feels right, and most importantly, the material quality must be good.
Gardening gloves have been my most worthwhile gardening equipment purchase. Initially, I thought wearing gloves was too troublesome and worked bare-handed, but soon developed various allergic reactions and often got pricked by plant thorns. Later I chose professional waterproof and puncture-resistant gardening gloves, which not only effectively protect my hands but also have excellent non-slip properties, making work much more manageable.
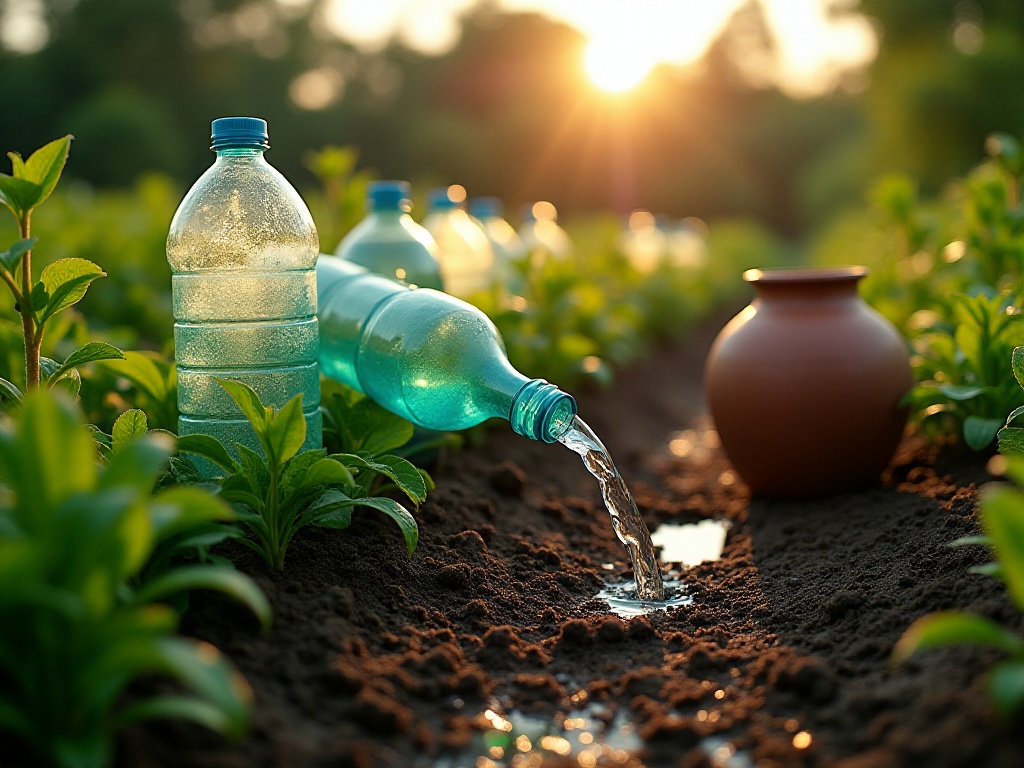
Watering tools are also essential. I currently use a two-liter watering can with an adjustable nozzle. This nozzle is really practical, allowing adjustment of water flow according to different plants' needs. For example, when watering succulents, I'll set it to the finest stream to avoid water splashing on leaves; for vegetables, I can set it larger to let water penetrate the soil more evenly.
Besides these basic tools, I've prepared some auxiliary tools: pruning shears, small trowels, labels, and plant ties. While these aren't essential, they do bring many conveniences in practical use. For instance, pruning shears are especially useful when maintaining plant shape, small trowels are suitable for delicate transplanting work, and labels help record planting times and variety information.
As my gardening experience accumulated, I added some advanced tools like soil pH meters and temperature-humidity meters. These tools help me better understand and control plants' growing environment. However, these were added later - for beginners, the basic three-piece set is completely sufficient.
Sowing Techniques
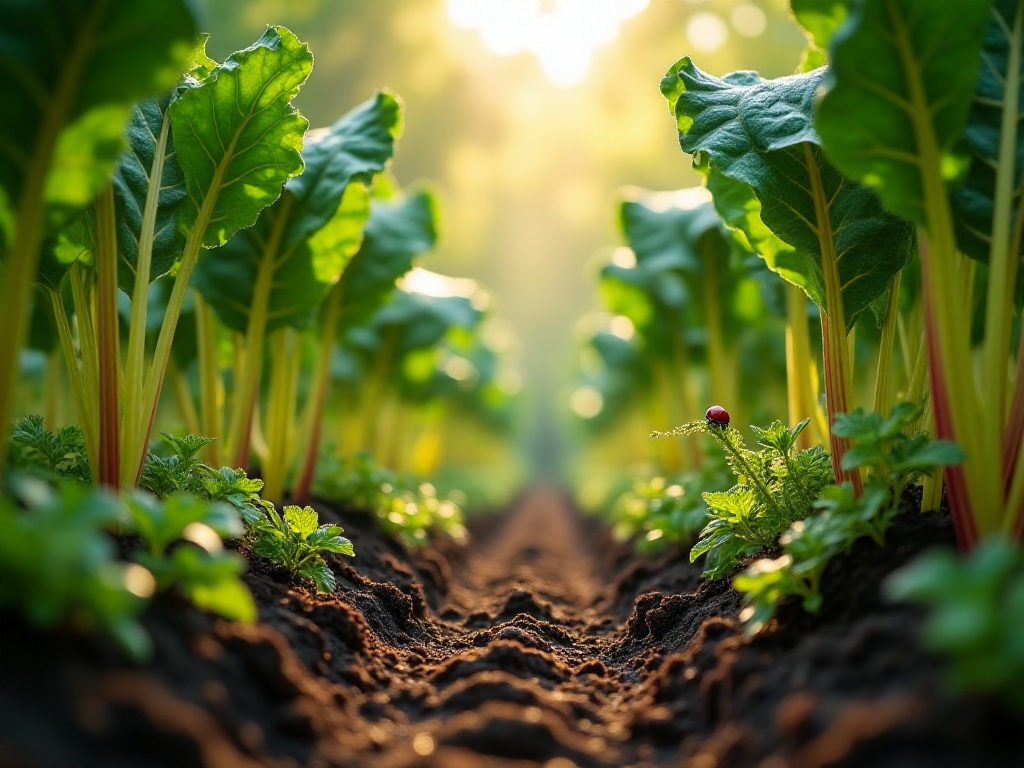
Sowing is perhaps the most exciting part of gardening. Every time I see seeds breaking through the soil, it feels like witnessing a miracle of life. However, to improve germination rates, you do need to master some techniques.
My current sowing method is differentiated by seed size. For large seeds like sunflowers and peas, I directly sow with my finger. Specifically: first make a small hole in the soil surface with your index finger, about 2-3 times the seed's diameter deep, then place the seed in and gently cover with soil. This method is not only accurate but ensures appropriate seed spacing.
For tiny seeds like basil and arugula, I've found toothpicks are excellent tools. I slightly wet the toothpick first, so tiny seeds easily stick to its tip. Then I can precisely place seeds in pre-prepared small holes. This method not only prevents seed waste but ensures even seed distribution.
Controlling sowing depth is also important. Generally, seeds should be buried 2-3 times their diameter deep. I made a simple sowing depth ruler using disposable chopsticks, marking different scales on them. This makes it convenient to control depth while sowing. Too shallow and seeds might blow away or be eaten by birds; too deep and new sprouts might lack enough energy to break through the soil layer.
Choosing the right season for sowing is also crucial. I previously made the mistake of sowing in unsuitable seasons. Now I choose sowing times based on different plants' growth characteristics. Spring is the golden season for sowing, suitable for most vegetables and flowers. Summer is suitable for heat-tolerant plants like okra and sunflowers. Fall is suitable for cold-tolerant vegetables like Chinese cabbage and radishes.
Post-sowing management is also important. I use a watering can to spray seeds, keeping soil moist but not waterlogged. Some seeds need shade treatment, for which I use newspaper or special seedling shade nets. I check soil moisture daily and supplement water as needed. Seeing new sprouts emerge is really fulfilling!
Maintenance Points
Watering is the most basic yet easily problematic aspect of gardening. Initially, I always watered plants too much or too little. Later I discovered the "fingertip test method": insert your finger 2-3 centimeters into the soil - if you can feel obvious moisture, no watering is needed yet; if the soil feels dry, it needs watering. This method is simple and practical, helping me avoid many over or under-watering problems.
Different plants have different water needs. Succulents are drought-tolerant, needing less frequent watering; while water-loving plants like pothos need consistently moist soil. Watering time is also important - I usually water in early morning or evening, reducing water evaporation and preventing leaf burn from direct sunlight.
Regarding fertilizing, I mainly use homemade organic fertilizer now. I collect daily kitchen waste like fruit peels, vegetable waste, coffee grounds, etc., mix them with dry leaves in a 3:1 ratio, and put them in a special compost bin. Turning it weekly and maintaining appropriate moisture, in about two months you get good quality organic fertilizer. This method is not only environmentally friendly but saves money.
Besides compost, I also use some natural fertilizers. For example, crushed eggshells can supplement calcium; banana peel-soaked water contains rich potassium, especially suitable for flowering plants; coffee grounds are a good nitrogen source. These natural fertilizers are particularly safe to use, and you don't need to worry about over-fertilizing.
Pruning is also an important part of plant maintenance. I regularly remove yellow leaves and dead branches to keep plants neat and attractive. For plants needing size control, like pothos and ivy, timely pruning can promote more side shoots, making plants bushier. Use clean tools for pruning, preferably on sunny days to avoid wound infection.
Pest and disease control is also an important topic. I now try to use physical and biological control methods, avoiding chemical pesticides when possible. For example, spraying soapy water can control aphids; planting some pest-repelling plants like marigolds and mint can provide natural pest control. Maintaining good ventilation and avoiding overwatering can prevent many fungal diseases.
Experience Summary
After more than a year of practice, my biggest realization is: gardening requires patience and careful observation. Each plant has its unique growth patterns and needs, and our job is to observe carefully and adjust planting plans timely.
Many cities now promote community gardening activities, which are really great learning opportunities. Through participating in these activities, you can not only learn professional planting knowledge but also meet like-minded gardening enthusiasts. I met my current gardening teacher at a community gardening activity, who taught me many practical skills, like how to choose suitable plant varieties and handle various common planting problems.
Gardening is truly a gradual process, don't expect immediate success. It's recommended to start with some easy-care small potted plants, like pothos and ivy, and gradually accumulate experience before trying more challenging varieties. During this process, you'll gradually develop a feel for plants and understand their needs at different growth stages.
I especially recommend keeping a gardening diary. You can record each plant's planting time, growth conditions, watering and fertilizing records, etc. This not only helps summarize experience but makes it easier to find causes when problems occur. It was through keeping a diary that I discovered I was watering my succulents too frequently in winter, causing root rot.
Also, making good use of online resources is important. There are many gardening forums and communities now with lots of shared experiences. However, note that planting experiences may vary by region, so adjust according to your actual situation.
Finally, I want to say that gardening is really an interesting thing. Watching the plants you've sown grow day by day, flower and fruit, that sense of achievement is indescribable. Moreover, through gardening, we can better appreciate the beauty of life and make our lives more fulfilling.
How about it, after reading these shares, don't you want to try too? Actually, starting gardening isn't difficult, the key is having patience and enthusiasm. Looking forward to seeing more people join the gardening ranks, let's together turn our home corners into verdant spaces!
Related articles


