Choosing the Right Location
Gardening is truly a soul-satisfying activity, but only if you choose the right location. When I first started gardening, I enthusiastically began my gardening journey on my balcony. The result? After three or four attempts, each ended in failure. Later, after consulting and researching, I discovered that my balcony had severely insufficient sunlight. This lesson taught us that choosing the right planting location is crucial. The ideal growing environment needs at least 6-8 hours of sufficient sunlight daily for plants to grow healthily and produce flowers and fruits.
Speaking of location, besides sunlight, water source accessibility is also crucial. My current planting area is arranged near the faucet outside the balcony. Why? Because it's convenient! Think about it - if your planting area is too far from a water source, carrying heavy watering cans over long distances will eventually wear down even the most enthusiastic gardener. I remember once, because my planting area was too far from the water source, I got lazy and didn't water for several days straight. As a result, my carefully grown cherry tomatoes all wilted, and I can't even describe how heartbroken I felt.
Layout planning is also a major consideration. When I first started gardening, I planted wherever I thought of it, without any planning. This resulted in some very awkward situations: tall corn completely shaded the shorter lettuce, causing the lettuce to grow poorly due to insufficient light. Later I wisened up and started taking out paper and pen to plan carefully before each planting. Now my planting area is laid out like this: corn and sunflowers (the tall plants) in the north, eggplants and peppers (medium-height plants) in the middle, and lettuce and spinach (short vegetables) in the south. This way, sunlight can reach every plant, allowing them all to thrive.
I also want to share a practical layout tip. When planning your planting area, be sure to leave sufficiently wide pathways. During my first attempt at gardening, I tried to utilize every corner to plant more, which made later management very inconvenient. Now I always leave 40-50cm wide paths between different blocks, making watering, fertilizing, and harvesting much more convenient. Adequate spacing also promotes better air circulation, reducing the occurrence of pests and diseases.
Even in areas with sufficient sunlight, you need to consider shade. The midday summer sun can be particularly harsh and easily burn plants. I installed an adjustable shade net above my planting area, which I pull over during the strongest midday sun and remove in the afternoon. This small investment is really worth it, as it both protects the plants and extends the time we can work in the garden.
Soil Matters
When it comes to soil, there's a lot to learn. Just as people need comfortable homes, plants need a good "home" too. The first time I prepared soil, I bought the cheapest garden soil to save money, resulting in mediocre plant growth. Later I understood how important soil texture is for plant growth.
To test if your soil is good, you can do a simple drainage test. Here's how: dig a 20cm deep hole in the ground, fill it with water, and observe whether the water completely drains within half an hour. If water remains stagnant in the hole, it indicates poor soil drainage that needs improvement. When I first did this test, the water stayed in the hole for most of the day without draining - such soil would definitely cause root rot.
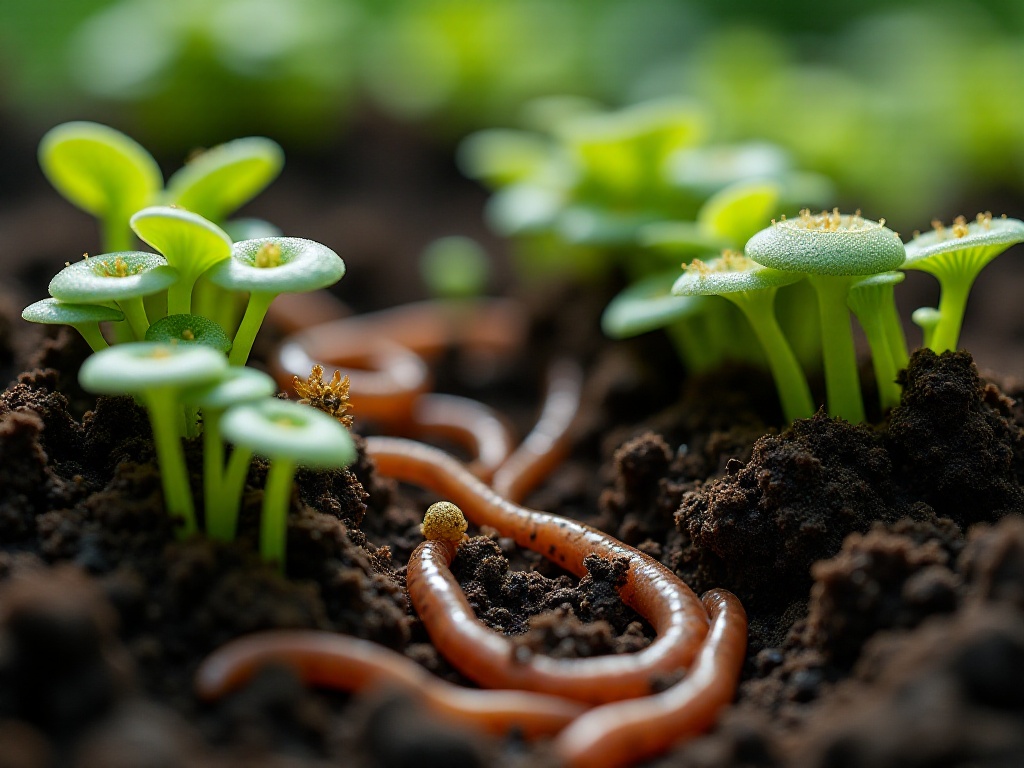
The best way to improve soil is to add compost. Speaking of compost, that's one of my great pleasures. Kitchen waste no longer needs to be thrown away - potato peels, vegetable leaves, fruit peels, and yard waste like twigs and fallen leaves are all great composting materials. I designated a 1m × 1m space in the corner of my yard for composting. Each day I add kitchen waste and cover it with a layer of dead branches and leaves, occasionally turning the pile. In about three to four months, it turns into dark, fragrant organic fertilizer.
Last year I grew tomatoes using my homemade compost, and the yield was amazing. One tomato plant could produce forty to fifty fruits, and they were especially sweet. When neighbor Wang saw this, he came asking for tips every day, so I shared my composting secret with him. Now several families in our community have started composting - it's both environmentally friendly and cost-effective.
Another important detail in soil improvement is timing your soil turning. This is experience I gained through lessons learned. Once, right after heavy rain, I eagerly went to turn the soil for planting. Guess what happened? The soil turned cement-like and became compacted. Later, more than half of the seeds I planted didn't germinate. Now I'm very careful about when I turn the soil, generally waiting until soil moisture is moderate. How to judge? Take a handful of soil - if you can form it into a ball but it doesn't stick to your hand, that's the best time for turning.
Another practical soil improvement method is crop rotation. Different plants have different nutrient requirements, and rotation can prevent excessive soil nutrient depletion. For example, where tomatoes grew this year, plant legumes next year. Legume roots have nitrogen-fixing bacteria that can fix nitrogen from the air into the soil, naturally improving it.
Soil pH is also an important indicator. Most vegetables prefer slightly acidic soil with a pH between 6-7. I bought a simple soil pH testing pen for regular testing. If the soil is too acidic, I sprinkle some wood ash; if it's too alkaline, I add more compost. This approach is both economical and environmentally friendly.
Planting Techniques
Planting techniques are a subject that requires continuous learning and accumulation of knowledge. Choosing suitable plant varieties is the first step. I learned this lesson the hard way - when I first started gardening, I completely ignored seasons and planted whatever I wanted. As a result, pepper seedlings planted in the cold early spring all froze to death within days. Later, I developed a planting schedule suitable for our local area.
In spring, focus on cold-resistant vegetables like peas, spinach, lettuce, and radishes. These vegetables can grow normally in temperatures of 10-15 degrees. I usually start seedlings in late February, so they can be transplanted by March. I did this last spring, and as a result, we were eating our own fresh vegetables while others were still buying them.
Summer is a great time for heat-loving vegetables. Plants like eggplants, peppers, cucumbers, and tomatoes that love high temperatures grow especially vigorously during this season. However, note that during summer's high temperatures, you need to provide appropriate shade and increase watering frequency. I set up a shade net above my garden and pull it over during the hottest midday hours, which both protects the vegetables and extends the harvest period.
Planting depth is also a technical matter. Generally, the smaller the seed, the shallower it should be planted. For common vegetables, small seeds like lettuce and cabbage basically just need to be scattered on the soil surface and covered with a thin layer of soil. Large seeds like peas and corn need to be planted deeper, about 2-3 cm deep. Now when I plant, I always pay special attention to the instructions on seed packets and follow the recommended planting depth, which has greatly improved my success rate.
Planting density is also crucial. I used to think that since space was limited, I should plant more, but this backfired. Last year when growing cucumbers, I thought the standard spacing was too wide and halved the distance between plants. As a result, when the cucumbers grew larger, the leaves were all crowded together with poor ventilation, making them prone to disease, and the yield was much lower than with normal spacing. Now I multiply the standard spacing by 1.2 to give plants enough growing space.
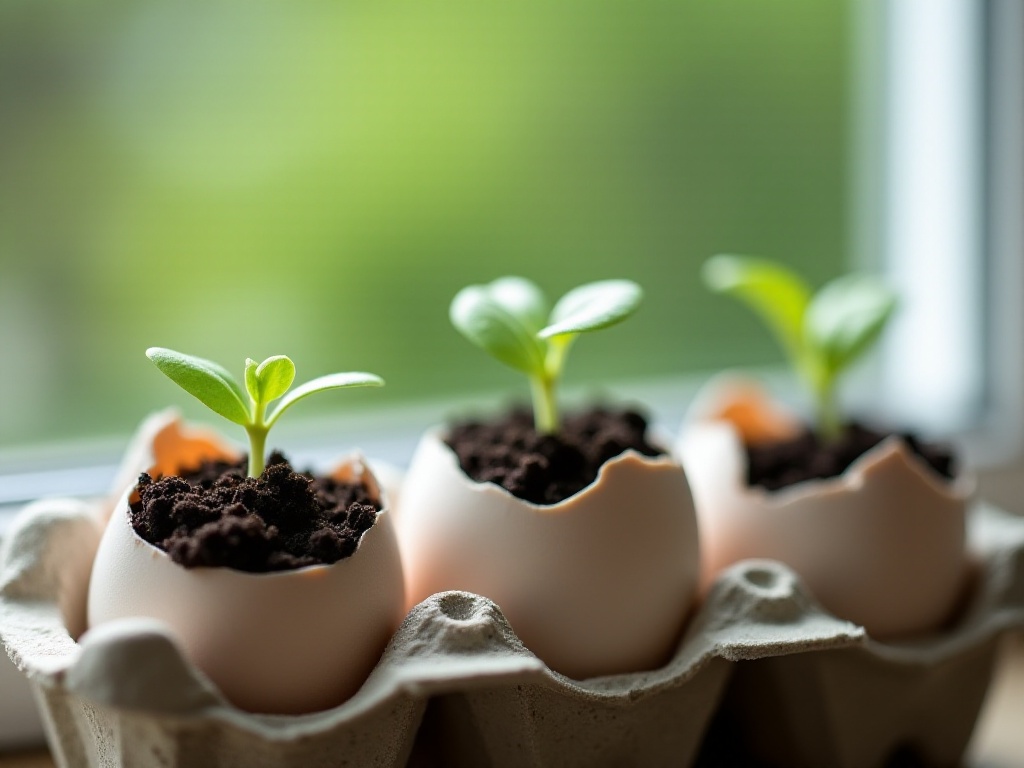
Starting seedlings is also an important step. Now I start most vegetables from seedlings, which not only improves survival rates but also helps with seasonal timing. I use special seedling soil that's loose in texture and rich in nutrients, perfect for seed germination. I choose seedling trays with small holes, making transplanting easier without damaging roots. I only put one seed in each cell to avoid the hassle of thinning later.
Transplanting technique is also key. It's best to transplant on cloudy days or in the evening to reduce plant water loss. Water the seedling tray thoroughly the day before transplanting to make it easier to transplant with soil intact. When transplanting, be sure to dig out the entire root system without damage. Water thoroughly immediately after planting, then set up a small shade shelter to protect the seedlings for a few days until they establish.
Pollination is another crucial aspect of growing. Plants like cucumbers and tomatoes will have much lower fruit set without insect pollination. I plant some flowering plants around my garden, like marigolds and cornflowers, to attract bees for pollination. When there aren't enough insects, I use a brush to hand-pollinate each flower.
Daily Care
When it comes to daily garden care, watering is most important. I've developed a simple rule: "Check dry for watering, check yellow for feeding." What does this mean? When you see dry surface soil, stick your finger in to check - if it's still moist inside, no need to water; if you see yellow leaves, consider adding nutrients.
Watering is truly an art. Too little water and plants grow slowly from drought; too much water can cause root rot. I now follow the principle of "see dry, see wet" for watering. Every morning I check, and if the surface soil looks dry, I stick my finger 2-3 cm deep to feel. If it's still moist inside, no watering needed; if it's dry inside too, time to water.
Timing of watering is also important. In summer, I generally water in early morning or evening when water evaporates more slowly, allowing plants to fully absorb it. Never water at noon - high temperatures cause rapid evaporation, and water droplets on leaves can act like small magnifying glasses, causing leaf burn.
Fertilizing also requires know-how. My fertilizing principle is "light and frequent" - applying small amounts of fertilizer often rather than large amounts at once. Always water before fertilizing - when soil is moist, plants can better absorb nutrients. I usually fertilize weekly during vigorous growth periods and increase frequency during flowering and fruiting.
Though pruning is troublesome, it's really important. Take tomatoes for example - without timely removal of suckers, plants become extremely dense, affecting ventilation and light penetration as well as fruit quality. I now make time to prune weekly, removing yellow leaves, diseased leaves, and excess branches to maintain good airflow and light penetration.
Regarding pest and disease control, prevention is far more important than treatment. I walk through my garden daily, carefully observing plant growth conditions. If I notice anything unusual, like insect holes or disease spots on leaves, I deal with it immediately. I prefer physical control methods, like using yellow sticky traps to catch pests or spraying soapy water to control small insects. These methods are both environmentally friendly and safe.
Support selection and setup is also important. Vining plants like peas and cucumbers will sprawl everywhere without good support, affecting both appearance and harvest convenience. I use bamboo poles and garden netting to create mesh or trellis supports. Supports must be set up while plants are still small - setting up after plants are large can damage root systems.
Time-Saving Tips
Gardening can be low-maintenance if you master certain techniques. Choosing suitable plant varieties is the first step. I especially recommend some perennial plants like chives, rosemary, and mint. These plants can be harvested for several years after a single planting, making them very low-maintenance.
My chives have been growing for three years - I cut what I need when I want to eat them, and new growth appears after a few days. Rosemary isn't just a herb but also looks beautiful and grows more vigorously over time. Mint is similar - give it a pot of space and it will keep growing, ready for picking a few leaves for tea anytime.
Modifying the watering system can also save lots of time. I installed a simple drip irrigation system in my garden - though it required some initial investment, it's really convenient. The system includes a timer controller, some drip tubes, and emitters. I set the timer to water twice daily, morning and evening, and can adjust timing and water volume according to weather conditions. This way I don't worry about watering when traveling or working late.
Ground cover is another time-saving method. I use straw and fallen leaves to cover the soil surface, which helps retain moisture and suppress weed growth. With mulch, watering frequency can be reduced by half, and there's less need for weeding - multiple benefits from one action.
Smart plant combinations can also save work. For example, I plant shorter varieties under taller vegetables to fully utilize space and provide mutual shading. Like growing beans under corn or lettuce under cucumber trellises - this increases planting density and yields.
Eco-Friendly Tips
Gardening activities should embrace sustainable development. For example, pruned branches and leaves can be fully utilized. Thick branches can be used as supports, while thin branches and leaves can be spread directly on the ground as mulch. This not only helps retain moisture but also suppresses weed growth, and as they slowly decompose, they become natural fertilizer.
Saving seeds is also a good eco-friendly habit. Last year I specifically let several particularly healthy green peppers fully mature. After the fruits turned completely red, I extracted the seeds, dried them, and stored them in glass jars. This year I'm using my own seeds for planting - not only saving money, but these seeds are especially adapted to local climate conditions, producing plants that grow particularly well.
Composting is an important part of eco-friendly gardening. Besides kitchen waste, pruned branches and leaves, fallen leaves can all be used for composting. I also collect coffee grounds, which are great composting material. Mature compost not only provides nutrients but also improves soil structure, making it the best organic fertilizer.
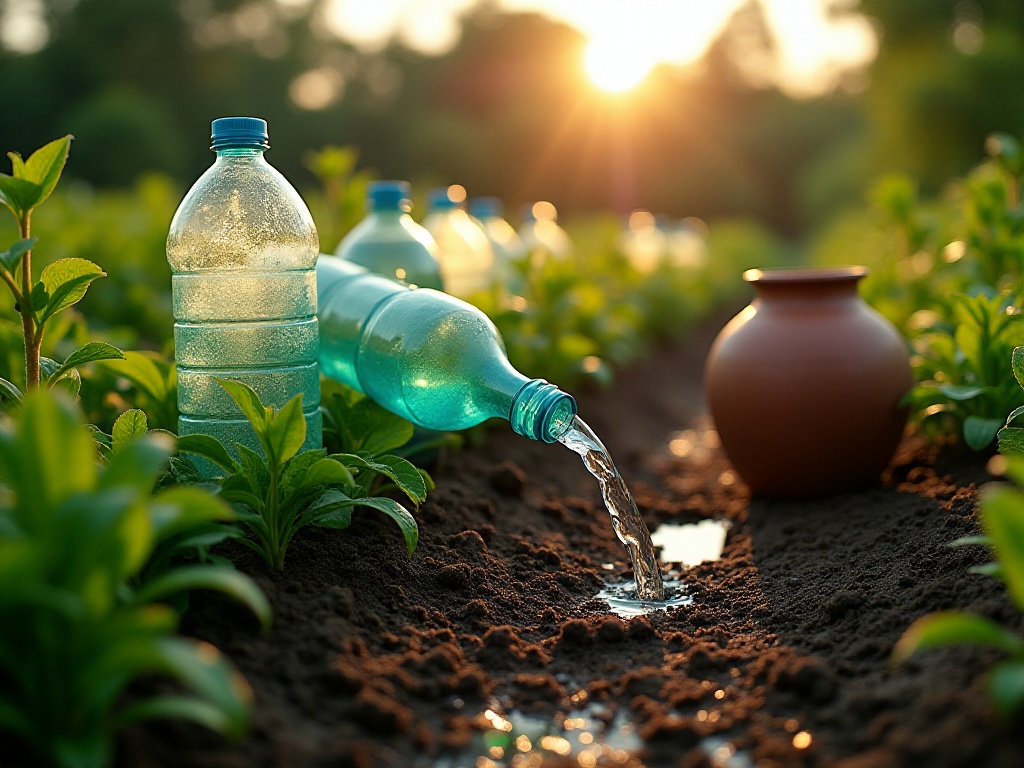
Water conservation is also key to eco-friendly gardening. Besides using drip irrigation, I also collect rainwater for watering vegetables. Placing large barrels under the eaves collects plenty of water when it rains. This chlorine-free rainwater is particularly beneficial for plant growth.
Growing local varieties is also an eco-friendly practice. These varieties have adapted to local climate conditions through long-term natural selection and don't need much human intervention. Local varieties generally have stronger disease and pest resistance, requiring fewer pesticides, making them more environmentally friendly.
You see, gardening is actually a really interesting activity. As long as you master these basic knowledge and skills, add some patience and care, anyone can become a gardening expert. I hope everyone can enjoy the pleasure of growing and harvest healthy, delicious vegetables and fruits.
Related articles


