Introduction
Recently, while having some free time at home, I had a sudden idea to create a small vegetable garden on my balcony. To be honest, I was completely in the dark at first, not knowing where to start. The online tutorials made my head spin with their technical terms that seemed like hieroglyphics. However, after some exploration, I finally found my way. Now, watching my vegetable seedlings grow taller each day brings me immense joy. Today, I'd like to share my journey as a gardening novice, hoping to inspire those who are also looking to start their own vegetable growing adventure.
Location is Crucial
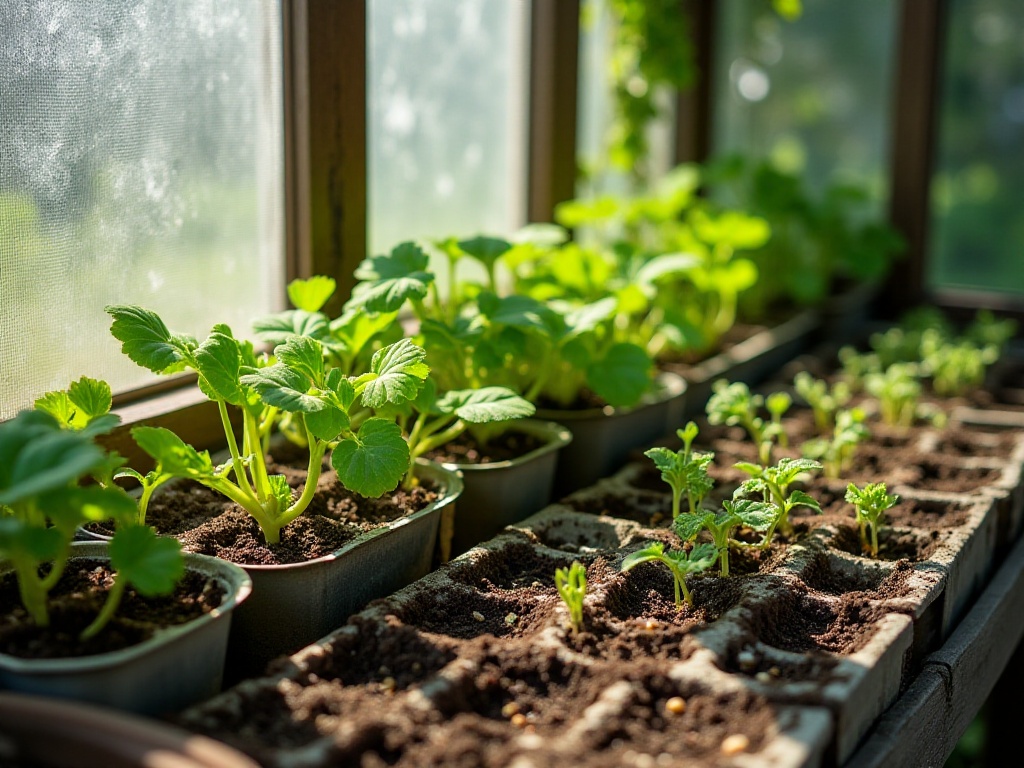
Speaking of location, it's been quite a learning experience. When I first started planting, I completely ignored the sunlight factor and randomly placed some pots in a corner of the balcony. Come summer, I watched helplessly as my seedlings bent dramatically in one direction, like they were performing ballet. Later I realized they were desperately reaching for that pitiful bit of sunlight.
After this painful lesson, I began to seriously study the lighting conditions on my balcony. I discovered that sunlight follows a pattern - morning sun comes from the east, while afternoon sun slants in from the west. After observing for an entire day, I found that the southwest corner of the balcony receives the most sunlight, with nearly 8 hours of direct sunlight daily. This is truly a prime spot for growing vegetables!
Different plants have varying sunlight requirements. Fruiting vegetables like tomatoes and peppers love sunlight and need 6-8 hours of direct sun daily. Leafy vegetables like Chinese cabbage and lettuce can tolerate some shade. I also discovered that mint is particularly easy to grow and thrives even in shady corners.
Now my balcony is fully planned out like a small farm. Eggplants and peppers are in the sunny spots, while cilantro and chives are in the slightly shadier areas. Every plant has found its perfect spot and is growing vigorously.
Soil Matters
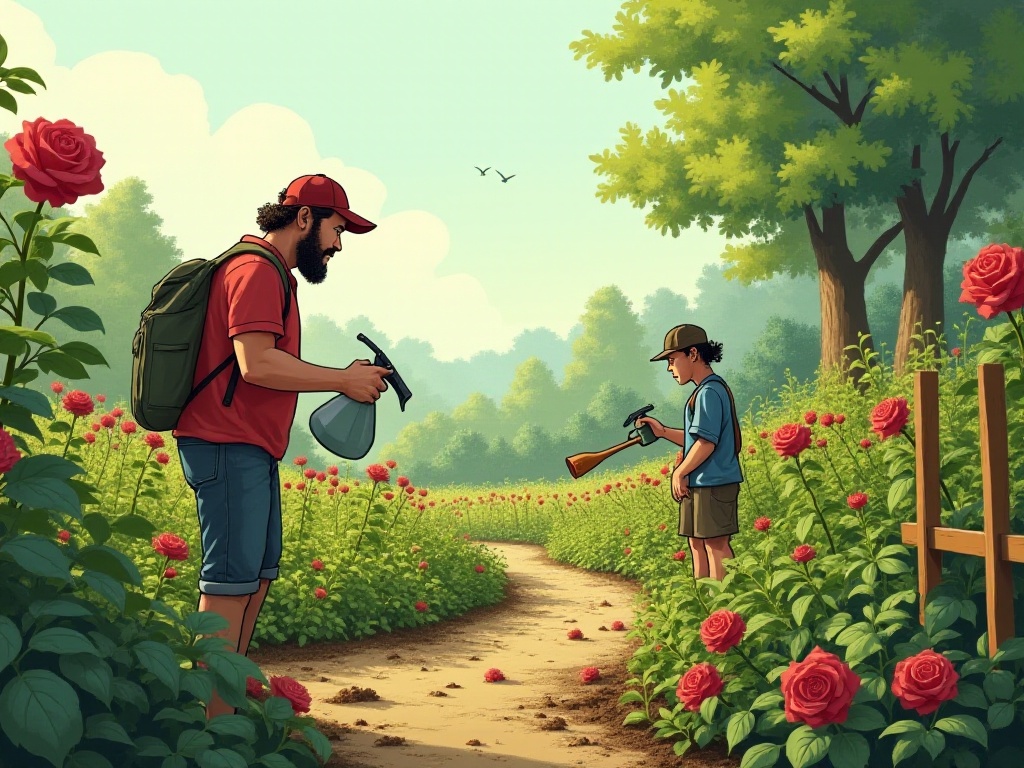
What's the most important aspect of growing vegetables? Soil, without a doubt. I was naive at first, thinking any potting soil would do. The results were predictable - plants grew thin and small with yellowing leaves, a pitiful sight.
Later, after visiting the garden market, I learned that soil selection is crucial. The vendor told me that organic nutrient-rich soil, full of humus and micronutrients, is best for vegetables. Different vegetables also have different soil requirements. Plants like eggplants and peppers, which prefer rich soil, need well-rotted organic fertilizer mixed in, while root vegetables like radishes need loose, well-aerated soil with some river sand added.
To help plants grow better, I bought a soil testing meter. This little device has been incredibly helpful, measuring soil pH, moisture, light, and other parameters. Through testing, I discovered that my soil was acidic, which explained why camellias grew so well. However, most vegetables prefer neutral or slightly alkaline soil.
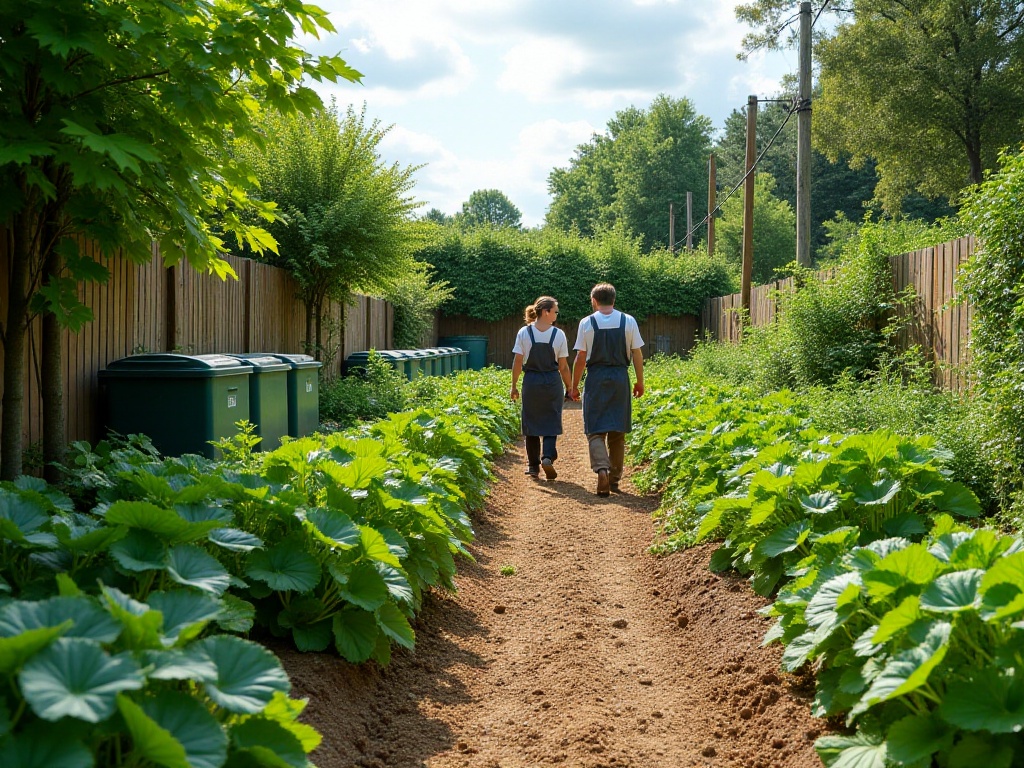
To improve the soil, I started making my own compost. I collect kitchen waste like vegetable leaves and fruit peels, along with garden debris like twigs and fallen leaves, and put them in a dedicated compost bin to ferment. Over time, these organic materials turn into black humus, which not only improves soil structure but also provides rich nutrients.
Now I mix my own soil: one-third nutrient soil, one-third leaf mold, one-third worm castings, and a handful of perlite for aeration. This mixture is perfect for vegetable growth, and plants develop extensive root systems.
Progress Step by Step
When I first started growing vegetables, I was overly enthusiastic and bought seeds for over a dozen different vegetables at once. There were eggplants, peppers, tomatoes, cucumbers, string beans, and various leafy greens. I thought, with such a large balcony, surely growing all these wouldn't be a problem?
The result was predictable - it was a disaster. Just watering took forever each day, not to mention fertilizing, pest control, and pruning, which left me completely overwhelmed. Worst of all, due to my inexperience, many plants either died or grew deformed. That period was a waste of both money and energy, and left me feeling quite discouraged.
After this painful experience, I decided to start over, this time taking it step by step. I first chose several easy-to-grow vegetables like chives, green onions, and lettuce. These plants are particularly hardy, have low environmental requirements, and are perfect for beginners.
Chives are truly a blessing for lazy gardeners - they barely need any care after planting and regrow after harvesting. My chives have been harvested several times, and seeing new shoots emerge each time gives me a great sense of achievement. Green onions are also easy to grow - just remember to water regularly, and you can harvest fresh scallions anytime. As for lettuce, it only takes about a month from planting to harvest, and barely needs any fertilizer - it's the epitome of beginner-friendly vegetables.
Through caring for these simple vegetables, I gradually learned the basics of vegetable gardening. Like when to water, when to fertilize, and how to judge if plants are growing healthily. Only after gaining a good understanding of these basics did I start trying to grow more challenging vegetables.
Now my balcony may not have many varieties, but everything grows well. Most importantly, I get a lot of enjoyment from it rather than feeling burdened. This has convinced me that taking things step by step is truly important in gardening.
Watering and Fertilizing
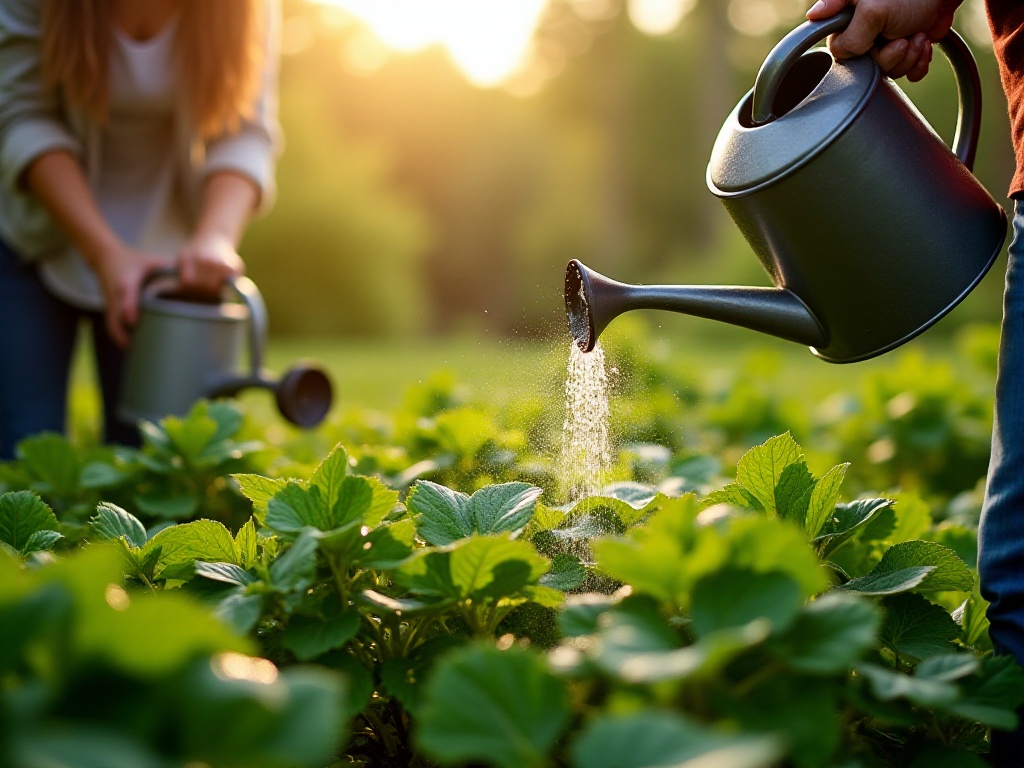
Speaking of watering, I made quite a few mistakes early on. At first, I thought plants couldn't live without water, so I watered them a little bit morning and evening. Instead of helping the plants grow better, this actually rotted their roots.
Later I discovered that it's better to water deeply once a week rather than giving small amounts daily. This encourages roots to grow deeper, making plants more robust. Now I determine whether watering is needed by checking soil moisture. Generally, if the top 2-3 centimeters of soil feel dry when you poke it with your finger, it's time to water.
Timing of watering is also important. In summer, it's best to water early morning or evening, avoiding the intense midday sun. Watering at noon can cause water droplets on leaves to act like small magnifying glasses, burning the leaves. Also, water evaporates quickly in strong sunlight before plants can absorb it.
As for fertilizing, I now mainly use organic fertilizers. While chemical fertilizers show quick results, they can damage soil and plants if overused. I love using coffee grounds - instead of throwing them away after making coffee, I spread them directly on the soil surface. Coffee grounds not only contain rich nitrogen but also improve soil structure, making them perfect natural nutrients, especially for acid-loving plants.
Besides coffee grounds, I also make liquid fertilizer from kitchen waste. For example, soaking crushed eggshells in water, or fermenting leftover food into fertilizer. These homemade organic fertilizers are both environmentally friendly and cost-effective. However, they need to be diluted when using, as too high concentration can harm plants.
For fertilizing frequency, I follow the principle of "little but often." I fertilize every two weeks during spring and summer growing seasons, reducing frequency in autumn and winter. It's important to observe plant growth - yellowing leaves might indicate nitrogen deficiency; poor flowering and fruiting might suggest lack of phosphorus and potassium.
Pest Control
Pest control has been a headache for quite a while. I remember once when my eggplants were growing beautifully, only to wake up one morning to find the leaves riddled with holes from insects - it was heartbreaking!
Initially, I considered using pesticides, but then I thought - isn't growing my own vegetables about eating healthier? Using pesticides would defeat the purpose; I might as well buy vegetables from the supermarket.
So I started researching natural pest control methods. The simplest is using chili pepper water. I cut up some dried chilies, steep them in hot water, and once cooled, add a bit of dish soap (for better adhesion), then spray it on the plants using a spray bottle. Insects hate this smell, and one application lasts several days. However, it needs to be reapplied after rain.
Besides chili water, I discovered garlic water is also effective. Crush a few cloves of garlic, soak in water for a day, then spray this garlic water on plants - it not only repels insects but also prevents some fungal diseases.
Later, I learned about planting pest-repelling plants. Marigolds not only look beautiful but also repel aphids; mint's scent drives away ants and some flying insects; flowering cilantro attracts beneficial insects that prey on pests. These plants beautify the garden while providing natural pest control.
Most importantly, regular plant inspection is crucial. Every morning, I carefully check the undersides of leaves for eggs or small insects. Addressing problems promptly keeps pest issues minimal.
Now my small garden rarely has serious pest problems. While occasionally a few leaves might have small holes, I think this is what organic gardening should look like - there's no need to pursue perfection.
Money-Saving Tips
Honestly, when I first started gardening, I was shocked by the prices of various gardening tools and equipment. But after some time exploring, I discovered many things can be DIY-ed, saving quite a bit of money.
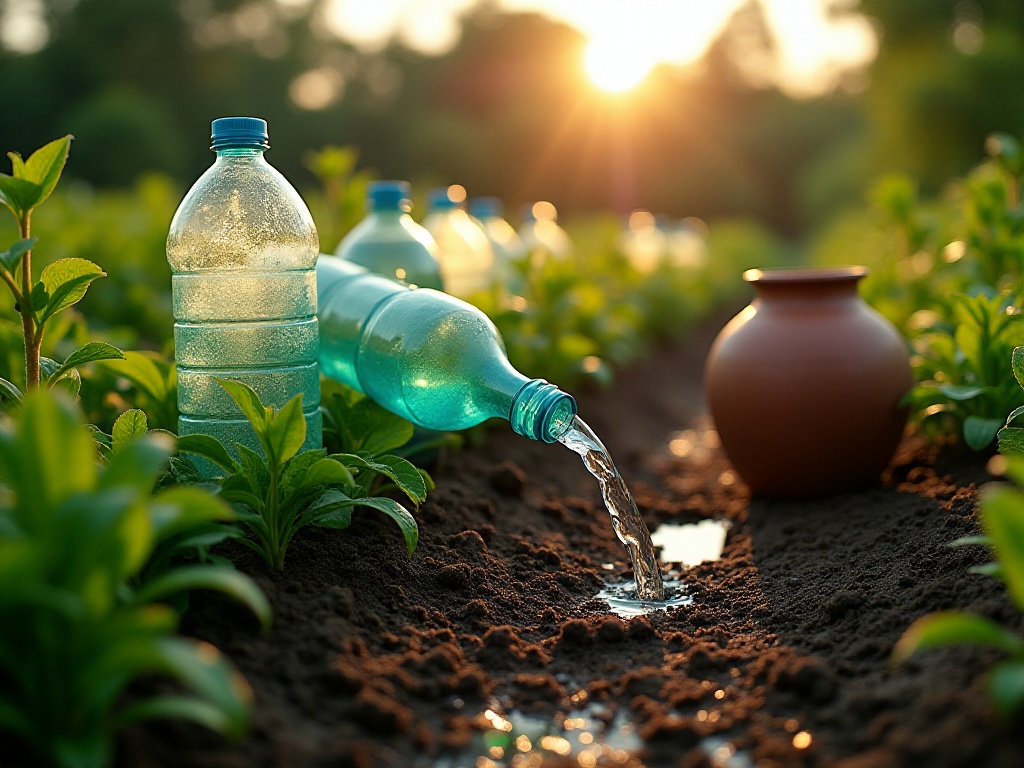
One of the most practical solutions is making mini greenhouses from plastic bottles. Temperature fluctuations in spring can easily kill young seedlings. I cut off the bottom of used mineral water bottles and place them upside down over newly planted seedlings. This maintains temperature and humidity while preventing birds from taking the seeds. Once the seedlings grow bigger, just remove the bottles.
The drip irrigation system is also made from mineral water bottles. Make small holes in the bottle cap, insert the water-filled bottle upside down in the pot, and water will slowly drip out. This works great even when you're away for a few days. You can even adjust the drip rate - smaller holes mean slower dripping.
Egg cartons can substitute for seedling trays. Clean the egg cartons, make drainage holes in each compartment, fill with soil, and they're ready for starting seeds. When seedlings grow larger, you can transplant the entire soil block to pots without disturbing the roots.
You don't need to buy supports - bamboo or tree branches work fine. My bean trellis is made from tied bamboo poles - it's sturdy and gives a nice farmhouse feel. Climbing vegetables like loofah and cucumber can all use these simple supports.
Collecting rainwater is another money-saving method. I placed a large container under the balcony drain to collect rainwater. It's not only free but also chlorine-free, which is great for plant growth.
There are many ways to save on fertilizer too. Don't throw away pasta or rice cooking water - once cooled, it can water plants, providing starch and vitamins. Diluted fish or meat broth can also be used as fertilizer, supplying protein and calcium.
For tools, you don't need many. A pair of scissors, a small trowel, and a spray bottle are enough. Other tasks like turning soil and weeding can be done with readily available chopsticks and spoons.
Conclusion
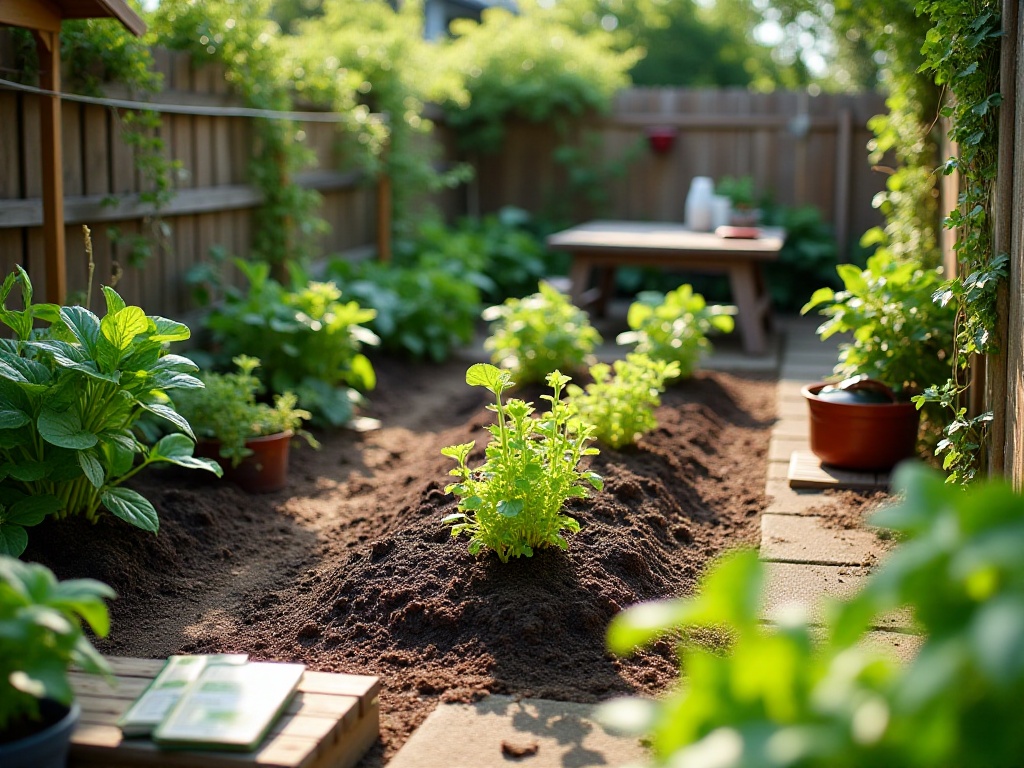
Now, the first thing I do after work is check my small garden on the balcony. Watching the vegetables I planted grow, flower, and fruit gives me a great sense of achievement. While they might not look as perfect as store-bought vegetables, home-grown vegetables just taste special.
Growing vegetables is truly interesting. It has taught me patience and helped me appreciate food more. Every time I see seeds sprouting, new leaves growing, or the first ripe fruit, it brings me so much joy.
Through gardening, I've also met many friends who share this interest. We often exchange growing experiences, seeds, and seedlings, sharing the joy of gardening together. Honestly, if I hadn't started growing vegetables, I might still be someone who just scrolls through their phone all day.
By the way, if you want to start growing vegetables, my advice is don't overthink it - just pick a vegetable you like and start. Like everything else, taking the first step is most important in gardening. Even though you'll encounter various problems at first, if you persist, you'll definitely experience the joy of harvesting from your own garden.
Related articles


